RAM & Memory Guide
DDR4 vs DDR5, memory configurations, speeds, and maximizing performance
DDR4 vs DDR5, memory configurations, speeds, and maximizing performance
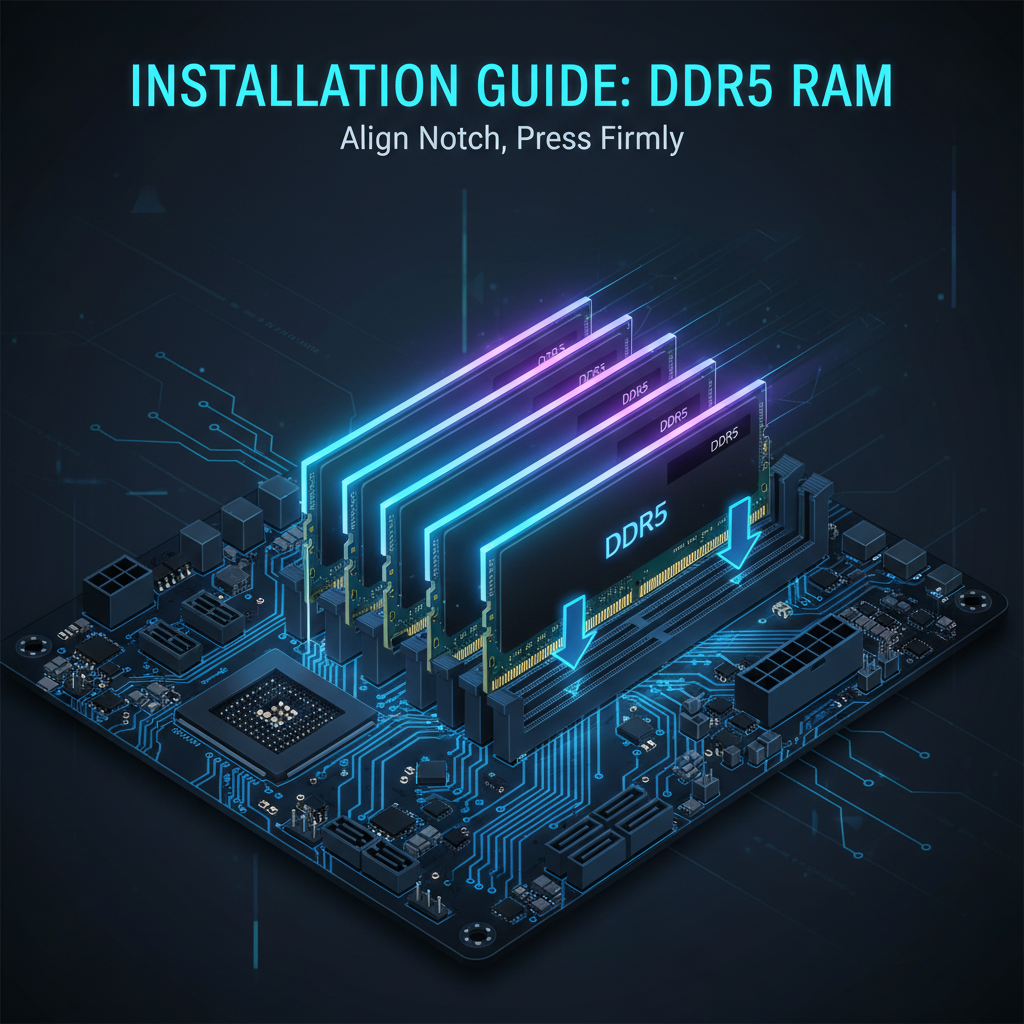
DDR5 is the latest generation of desktop memory, succeeding DDR4 which dominated from 2014 through 2022. The two standards are physically incompatible -- you cannot install DDR4 into a DDR5 motherboard or vice versa. The notch on the module is in a different position to prevent this. Here is how the two generations compare across key specifications:
| Feature | DDR4 | DDR5 |
|---|---|---|
| Speed Range | 2133-5333 MT/s | 4800-8000+ MT/s |
| Typical Speed | 3200-3600 MT/s | 5600-6400 MT/s |
| Voltage | 1.2V (1.35V OC) | 1.1V (1.35V OC) |
| Max Capacity/Stick | 32GB common | 48GB common |
| On-die ECC | No | Yes |
| Power Management | On motherboard | On module (PMIC) |
| Channels per Module | 1 (64-bit) | 2 (32-bit each) |
| Price | Lower | Higher |
DDR5 introduces on-die ECC (Error Correcting Code), which detects and corrects single-bit errors within the memory chip itself. This is not the same as full ECC memory used in servers, but it does improve stability. DDR5 also moves the power management integrated circuit (PMIC) onto the memory module itself, which allows for cleaner power delivery and higher overclocking headroom compared to DDR4's motherboard-based voltage regulation.
Each DDR5 module operates as two independent 32-bit channels rather than DDR4's single 64-bit channel. This effectively doubles the burst length and improves efficiency when handling multiple memory requests simultaneously, which benefits multitasking and heavily threaded workloads.
DDR5 is now the standard for new builds in 2025. While DDR4 boards still exist for Intel's 12th and 13th Gen platforms, all new AMD AM5 systems require DDR5. DDR5 prices have dropped significantly since launch and a 2x16GB DDR5-6000 kit is now comparable in price to a mid-range DDR4 kit from a year ago.
Memory speed is measured in MT/s (megatransfers per second), which describes how many data transfers the memory can perform each second. This replaced the older and technically misleading "MHz" marketing. A DDR5-6000 module operates at a base clock of 3000 MHz but performs two data transfers per clock cycle (the "double data rate" in DDR), resulting in 6000 MT/s. When you see "DDR5-6000," that 6000 number is the megatransfer rate.
Higher memory speeds improve bandwidth, which helps in memory-intensive tasks like video editing, gaming at high frame rates, and large file decompression. However, the real-world performance difference between, say, DDR5-6000 and DDR5-7200 is often smaller than benchmarks suggest -- typically 2-5% in gaming. The sweet spot balances price, stability, and performance.
For AMD Ryzen 7000/9000, DDR5-6000 CL30 is the "sweet spot" because it runs the Infinity Fabric at a 1:1 ratio for optimal performance. Going faster than DDR5-6000 on Ryzen can actually hurt performance unless the Infinity Fabric can be manually overclocked to maintain the 1:1 ratio, which is not guaranteed on every chip.
Dual-channel memory doubles your available memory bandwidth by allowing the CPU to access two memory modules simultaneously through two separate 64-bit channels. This gives you 128 bits of total bandwidth instead of 64 bits with a single module. In practical terms, dual-channel can improve performance by 20-40% in memory-bound tasks and 5-15% in gaming compared to single-channel.
Always install RAM in pairs. On a motherboard with four DIMM slots, you should populate slots 2 and 4 first (the slots furthest from the CPU). These are typically labeled A2 and B2 in the motherboard manual. This is not arbitrary -- the electrical traces are optimized for this configuration, and using A2/B2 first provides the best signal integrity and the most stable overclocking results.
If you only install a single stick of RAM, you are running in single-channel mode, which cuts your memory bandwidth in half. This is one of the most common mistakes in PC building and has a noticeable impact on performance, especially in games and applications that stream large amounts of data through memory.
After installing your RAM, you can verify dual-channel is active by opening Task Manager (Ctrl+Shift+Esc) on Windows, navigating to the Performance tab, selecting Memory, and checking the "Slots used" field. You can also use free utilities like CPU-Z -- look at the Memory tab where the "Channel #" field should read "Dual."
Installing RAM in the wrong slots can force single-channel mode, cutting your memory bandwidth in half. On most four-slot boards, installing in slots 1 and 2 (the two slots closest to the CPU) will run in single-channel. Always check your motherboard manual for recommended slots -- on nearly every board, A2 and B2 is the correct starting configuration.
The amount of RAM you need depends entirely on what you do with your PC. Too little RAM forces your system to use the much slower storage drive as virtual memory (page file), which creates noticeable stuttering and slowdowns. Too much RAM is simply wasted money sitting idle. Here is a practical breakdown by use case:
| Usage | Minimum | Recommended |
|---|---|---|
| Basic / Office | 8GB | 16GB |
| Gaming | 16GB | 32GB |
| Content Creation | 32GB | 64GB |
| Workstation / VMs | 64GB | 128GB |
16GB was the standard for gaming for several years, but modern games like Cities: Skylines 2, Star Citizen, and modded titles regularly use 20GB or more. In 2025, 32GB (2x16GB) is the recommended configuration for a new gaming build. The price difference between a 2x8GB and 2x16GB kit is modest, and having 32GB gives you comfortable headroom for background applications, browser tabs, and Discord while gaming.
For content creators working with Adobe Premiere Pro, DaVinci Resolve, or Blender, 32GB is the starting point. If you work with 4K or 8K video timelines, large Photoshop files with many layers, or 3D scenes with detailed textures, 64GB will prevent the application from running out of memory and hitting the page file.
Workstation users running multiple virtual machines, large databases, or scientific computing simulations should target 64GB minimum and 128GB for heavy workloads. Motherboards on the AM5 and LGA 1700 platforms support up to 128GB with four 32GB sticks, or up to 192GB with four 48GB DDR5 modules on supported boards.
When you install new RAM, it does not automatically run at the speed printed on the box. By default, all DDR4 and DDR5 memory runs at the base JEDEC specification -- DDR4 defaults to 2133 MT/s and DDR5 defaults to 4800 MT/s. To reach the rated speed you paid for, you need to enable an overclocking profile in your BIOS.
XMP is Intel's technology, now in its third generation (XMP 3.0 for DDR5). It stores pre-tested overclocking profiles directly on the memory module's SPD (Serial Presence Detect) chip. When you enable XMP in your BIOS, the motherboard reads these profiles and automatically sets the correct speed, voltage, and timings. Most DDR5 kits include two XMP profiles -- one at the rated specification and sometimes a second at a slightly different speed or timing configuration.
EXPO is AMD's equivalent of XMP, designed specifically for AMD platforms. It works the same way -- a pre-tested profile stored on the memory module that you enable with a single toggle in the BIOS. Many DDR5 kits now ship with both XMP and EXPO profiles, so the same kit works optimally on both Intel and AMD platforms.
Enabling XMP or EXPO is straightforward. Enter your BIOS (press DEL or F2 during boot), navigate to the memory or overclocking section, and look for the XMP or EXPO toggle. Select the profile and save your settings. The system will reboot and your RAM will run at its rated speed. If the system fails to boot after enabling, the BIOS will typically reset to default settings automatically after a few failed attempts.
Without enabling XMP or EXPO, your DDR5-6000 kit is running at DDR5-4800 -- you are leaving significant performance on the table. This is the single most common oversight in new PC builds. Always check that XMP or EXPO is enabled after your first successful boot.
The number of DIMM slots on your motherboard determines how many memory modules you can install and your maximum total capacity. The slot count varies by form factor:
For a two-stick configuration on a four-slot board, always populate slots A2 and B2 first (typically the second and fourth physical slots). This is the configuration that motherboard manufacturers optimize for, and it provides the best signal quality for higher memory speeds.
If you plan to fill all four slots, be aware that two sticks generally achieve better overclock stability than four. Four DIMMs place more electrical load on the memory controller, which can limit your maximum stable speed. For example, a kit rated at DDR5-6000 with two modules might only be stable at DDR5-5600 with four modules installed. If raw speed is your priority and 32GB is enough, use 2x16GB rather than 4x8GB.
If you think you might want to upgrade from 32GB to 64GB later, start with 2x16GB in a four-slot board. You can then add two more 16GB sticks in the remaining slots. However, for the best stability, try to use the same brand, model, and speed for all four modules.
Memory compatibility is usually straightforward, but there are several factors to check before buying:
Some RAM modules have tall heatspreaders or RGB light bars that can interfere with large CPU air coolers. If you are using a tower-style air cooler, check the cooler's maximum RAM clearance before buying modules taller than 40mm. Low-profile kits like the Corsair Vengeance LPX (DDR4) or Corsair Vengeance (DDR5) are safe choices when clearance is tight.
These are well-tested, widely available kits that offer strong performance at their respective price points. All recommendations prioritize compatibility, stability, and value. Prices fluctuate frequently, so check current pricing before purchasing.
RAM prices change frequently. Use PCPartPicker to compare current prices across retailers, set price alerts for your target kit, and read user reviews about compatibility with your specific motherboard.
DDR5 support
DDR5 support
DDR5 support
DDR5 support
Now that you understand memory, explore these related guides to continue planning your build: