How This Guide Is Sourced
Everything below is based on published manufacturer documentation. We have not flashed a board to write this page, and nothing here is a test result. A flash is the one routine job that can leave you with a motherboard that will not start, so where a step is specific to one brand it is attributed to that brand and linked to that brand's own support page. Where a vendor's current rule could not be read at the vendor's own source, this page says so and sends you to your board's own support page instead of guessing.
When You Actually Need an Update
A BIOS update is not maintenance. Firmware that works does not need replacing, and every flash carries a small risk that the older firmware did not. There are three good reasons to do one.
- A newer CPU than the board shipped with. This is the common one. A board sold before a processor existed does not know how to start it, and the symptom is a machine that powers up and never posts. The board's CPU support list on the vendor's site names the minimum BIOS version for each supported chip. If your chip needs a version newer than the one on the board, a flash is the fix, not a different processor. Our CPU sockets guide covers which processors physically fit a given socket, which is a separate question from whether the firmware recognises them.
- A security advisory that names your platform. Firmware fixes for processor and platform vulnerabilities reach you as a motherboard BIOS update, not through Windows Update. If a vendor has published one for your board, nothing else will install it for you. Our UEFI early-boot DMA advisory is a current example, and on ASUS boards it needs a BIOS setting changed as well as a firmware update.
- A specific bug you are hitting. Read the release notes for the versions between yours and the latest. If one of them names your problem, that is a reason. If none of them do, you do not have a reason yet.
Otherwise, leave it. A stable machine gains nothing from a firmware version number going up, and vendors do occasionally ship a release that regresses memory compatibility or fan control for some boards. Read the notes before you decide.
If Your Drive Is Encrypted, Deal With That First
Microsoft lists "upgrading critical early startup components, such as a BIOS or UEFI firmware upgrade" as one of the events that puts a machine into BitLocker recovery. In plain terms: after the flash, Windows may ask for a 48-digit recovery key before it will unlock your own drive. Microsoft's guidance for a planned firmware update is to suspend BitLocker protection first, and resume it afterwards. Whichever route you take, find and save your recovery key before you start, not after. This is the step that turns a bad flash into lost data.
Find Your Board and Your Current BIOS Version
Two pieces of information decide everything else: the exact model of the board, and the firmware version currently on it.
The model. It is silk-screened on the board itself, usually between the memory slots and the top PCIe slot. Take the revision with it if there is one printed alongside — boards sold under the same name in different revisions can take different BIOS files, and this is a place where "close enough" can brick a board. In Windows, System Information (run msinfo32) reports the same thing as BaseBoard Manufacturer and BaseBoard Product.
The version. The same System Information window shows BIOS Version/Date. You can also read it on the board's own firmware screen, which every vendor prints at the top of its BIOS home page. Write it down before you flash, so you know what you are going back to if you need to.
Then download the firmware from the support page for that exact model, and nowhere else. Vendor download pages are organised by model and often by revision; a BIOS file for a similar board from the same family is not a substitute.
Method 1: Update From Inside the BIOS
This is the normal route, and the one to use whenever the machine still starts. Every vendor builds a flashing tool into the firmware itself, so there is no operating system involved and no Windows utility to trust. Put the BIOS file on a USB stick, boot into the firmware, and point the built-in tool at the file.
- ASUS calls it EZ Flash, in the Tool menu of its firmware. ASUS publishes per-model instructions on each board's own support page.
- MSI calls it M-FLASH. According to MSI's own BIOS user guide, you save the BIOS file to a USB flash drive, then either press Ctrl + F5 during POST, or press Del to enter the BIOS and click the M-FLASH button; either way the system reboots into flash mode, you select the BIOS file, and the system restarts by itself once the process reaches 100%.
- GIGABYTE calls it Q-Flash, reached from the firmware or by a key press at POST. GIGABYTE's site blocks automated retrieval, so we have not read its current instructions at the source and are not going to paraphrase them from elsewhere — take the procedure from your board's own support page on the GIGABYTE support site.
- ASRock calls it Instant Flash, and reaches it with F6 at POST or from the Tool menu. ASRock publishes the procedure as image-only PDFs that we could not read mechanically, so again: use the guide linked from your board's page on ASRock's BIOS support page rather than a version of it copied by us.
Whichever tool it is, the pattern is the same: unzip the download, put the BIOS file on a stick, boot the firmware, select the file, confirm, and do not touch anything until the board restarts on its own.
Method 2: Flashing With No CPU Installed
This is the feature that saves a build where the board is too old for the processor you bought. It flashes the firmware from a USB stick with nothing but the power supply connected — no processor, no memory, no graphics card — because the flash is handled by a small controller on the board rather than by the CPU. ASUS calls it USB BIOS FlashBack, MSI calls it the Flash BIOS Button, GIGABYTE calls it Q-Flash Plus, and ASRock calls it BIOS Flashback.
Two rules apply to all of them. The stick goes in one specific rear USB port, which is marked on the board's rear I/O and named in the manual — not any port that happens to be free. And the button is on the rear I/O panel or on the board itself, next to that port. Our USB headers and ports guide covers how to tell the rear ports apart if the labelling on your board is not obvious.
According to ASUS's official USB BIOS FlashBack FAQ, the ASUS procedure is:
- Prepare a USB flash drive as described in the next section, with the renamed BIOS file in its root directory.
- Connect the drive to the USB FlashBack port on the motherboard. ASUS says to refer to your model's manual for where that port is.
- Press the BIOS FlashBack button for three seconds, until the FlashBack LED blinks three times. Three blinks means the flash has started.
- Wait until the light goes out. That is ASUS's completion signal, and ASUS says the process can be completed in eight minutes.
MSI's own BIOS user guide gives the equivalent sequence for the Flash BIOS Button: rename the BIOS file to MSI.ROM and save it to the root of the USB drive, connect the power supply to the CPU and ATX power connectors — the guide states directly that there is no need to install CPU and memory — plug the drive into the Flash BIOS Port on the rear I/O panel, press the Flash BIOS Button, and the LED starts flashing. MSI's completion signal is the same as ASUS's: the LED turns off when the process is done.
Both Power Connectors, Even With No CPU
MSI's instruction to connect both the CPU power connector and the 24-pin ATX connector is worth repeating, because the board is otherwise fully unpopulated and it is easy to assume the 8-pin CPU lead is not needed. If the flash button does nothing at all, check that both are seated and that the PSU's rear switch is on.
For GIGABYTE's Q-Flash Plus and ASRock's BIOS Flashback the button behaviour is broadly the same — one marked port, one button, an LED that blinks while it works — but the file naming rule is where they differ, and that is covered next.
The USB Stick and the Filename
This section is the one to get exactly right. The board's flash controller looks for one file, in one place, on a drive it can read. Any of the three being wrong means the flash does not start — which is a wasted trip, not a disaster. Using the wrong file for your board is the part that does damage.
ASUS. The FlashBack FAQ specifies "a single sector USB flash drive in FAT16 / 32 MBR format" — one partition, MBR rather than GPT. The ASUS download contains the BIOS file, in .CAP format, together with a tool called BIOSRenamer; ASUS's instruction is to double-click BIOSRenamer to rename the file automatically, then copy the renamed file to the root directory of the drive. Use the tool rather than renaming by hand. A second ASUS FAQ, covering its ROG desktop systems, lists models that expect a .AS file instead of .CAP, which is the clearest illustration of why the file from your own model's download page is the only one to use.
MSI. MSI's BIOS user guide says to rename the BIOS file to MSI.ROM and save it to the root of the USB flash drive — exactly that name, in the root, not inside a folder. If Windows is hiding known file extensions, check that you have not produced MSI.ROM.rom. That guide does not state a filesystem for this method; FAT32 is the safe choice, since it is what the other documented procedures ask for, and a drive the board cannot read simply fails to start rather than doing harm. If your board's page states something different, follow the page.
GIGABYTE and ASRock. We are deliberately not printing a filename for either. GIGABYTE's naming rule has changed across board generations — some downloads now ship a rename utility rather than expecting a fixed name — and ASRock's flash documentation is published as image-only PDFs we could not read at the source. Get the current rule from your board's own support page, from the readme inside the BIOS download, or from the manual for your exact model. A filename copied from a forum post about a different board is the most common way this goes wrong.
Check the File Against Your Exact Model and Revision
Every vendor's recovery advice starts with the same check: confirm that the board model, and the revision if the board has one, matches the BIOS file you downloaded. Flashing a file intended for a different model is the one mistake in this whole process that the board cannot recover from by itself.
What "Do Not Interrupt" Means, and What Happens If You Do
A flash erases the chip holding the firmware and writes a new image to it. Between those two events the board has no working firmware. Cutting power in that window leaves the chip half-written, and a board with a half-written BIOS does not start — no display, no POST, nothing to flash from.
ASUS states the rule plainly in its FlashBack FAQ: "Please do not remove the USB flash drive, unplug the power supply, turn on the power or press the CLR_CMOS button during the execution." Note what is on that list besides the obvious. Pressing the power button, or clearing CMOS, counts as interrupting it.
So, before you press the button: plug the machine into a wall socket rather than a switched extension lead someone might knock, and if you are on a laptop-style setup or a home with unreliable power, wait for a better moment. Then start it and walk away. An in-BIOS flash typically finishes in a couple of minutes; ASUS says a FlashBack update can take up to eight, and a screen that has been still for four minutes is normal, not stuck.
Read the LED rather than the clock. According to ASUS's FAQ, if the light flashes for five seconds and then turns into a solid light, the FlashBack process is not operating properly — that is the failure signal, and it means stop and check the file and the drive, not press the button again and hope. On both ASUS and MSI boards a successful flash ends with the light going out.
After the Update: Everything You Set Is Gone
A BIOS update resets the firmware to its defaults. That is by design, and it catches people out every time, because the machine that boots afterwards is not configured the way yours was.
- Your memory profile is off. XMP on Intel, EXPO on AMD. Until you re-enable it, the kit runs at its JEDEC base speed and the machine is measurably slower. Our RAM and memory guide covers where the profile lives and what it actually changes.
- Boot order is back to default. If the machine boots to the wrong drive, or straight into the firmware, this is why. Set it again and save.
- Fan curves, RGB settings and any overclock are gone. Fans running loud after an update is the defaults doing their job, not a fault.
- Secure Boot and TPM settings may have moved. Check them if you rely on either, and re-save before you conclude something is broken.
- The first boot may be slow. On AM5 in particular, memory has to be trained again from scratch after a firmware change, which can take several minutes with the DRAM light on. Our no-POST guide covers how to tell that apart from a genuine memory fault.
Go back into the firmware once, set the handful of things you care about, save, and reboot. Do not do it in the same sitting as diagnosing something else — you want to know which change caused what.
Dual-BIOS and Recovery Options
Some boards carry two firmware chips, so a failed or corrupt flash on the first can be recovered from the second. Some carry one chip and rely on the no-CPU flash button as the recovery path. Which of those your board has is in its manual, and it is worth knowing before you flash rather than after.
Three practical points. First, if the board has a working flash button, a failed in-BIOS update is usually recoverable by that route — you are not out of options just because the machine will not post. Second, if the flash button itself fails, ASUS's guidance is to check that the model of the board and the model the BIOS file was downloaded for actually match, and then to contact your local service centre; the equivalent applies to every brand. Third, a board still under warranty is worth a support ticket before anything drastic. Vendors would rather tell you the recovery procedure than receive the board.
What is not a recovery option is repeatedly pressing the button on a board that keeps signalling failure. If the LED reports a failure twice with the same file, the file, the drive or the model match is wrong, and a third attempt changes nothing.
Boards With No No-CPU Flash Button
Plenty of boards do not have this feature. It is common on mid-range and high-end models and often absent from budget ones, and no brand fits it to everything. The board's spec page and its rear I/O diagram tell you: if there is no marked flash port and no button, there is no no-CPU flash.
If that is your board and it will not post with the processor you bought, the options are:
- Borrow a supported processor. Any chip on the board's CPU support list that works with the shipped firmware will get you into the BIOS, where the built-in flash tool takes a few minutes. It only has to work once.
- Ask the retailer. Some retailers will flash a board to a requested version before shipping, or will do it on a board you have already bought. It costs nothing to ask, and it is the fastest fix if they say yes.
- Ask the board vendor. Support may offer a firmware update service through a regional service centre. Response times vary, so ask early rather than after two weeks of trying.
- Check whether the board shipped recent enough firmware anyway. Boards sold today have often been on the shelf for months, not years. The version printed on the box sticker, where there is one, may already be past the minimum your processor needs.
And when you are choosing a board in the first place: on a platform where new processors keep arriving on an existing socket, a flash button is worth real money the day you need it. It is one of the specs we list on our review pages for exactly that reason.
Related Guides
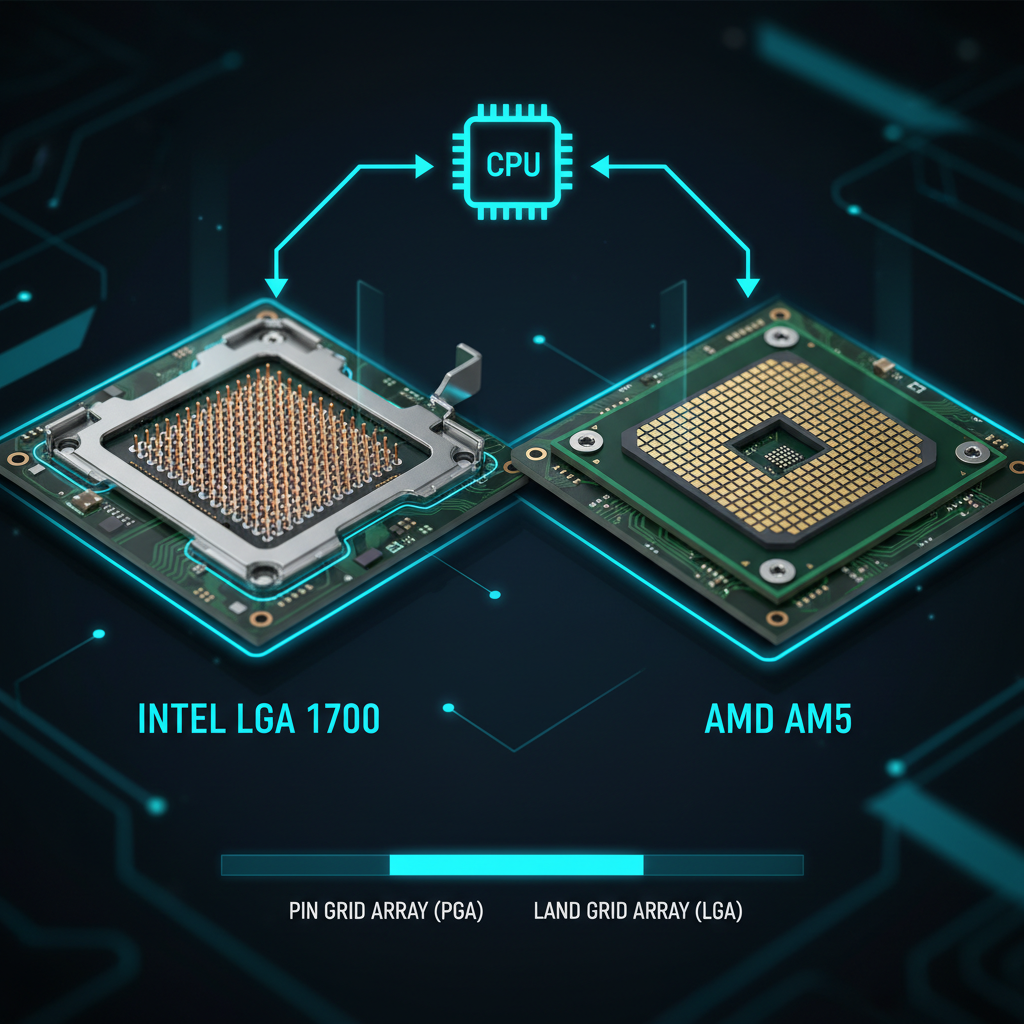
CPU Sockets Explained
Which processors fit which socket, and why a chip that fits can still need newer firmware before the board will start it.
7 min read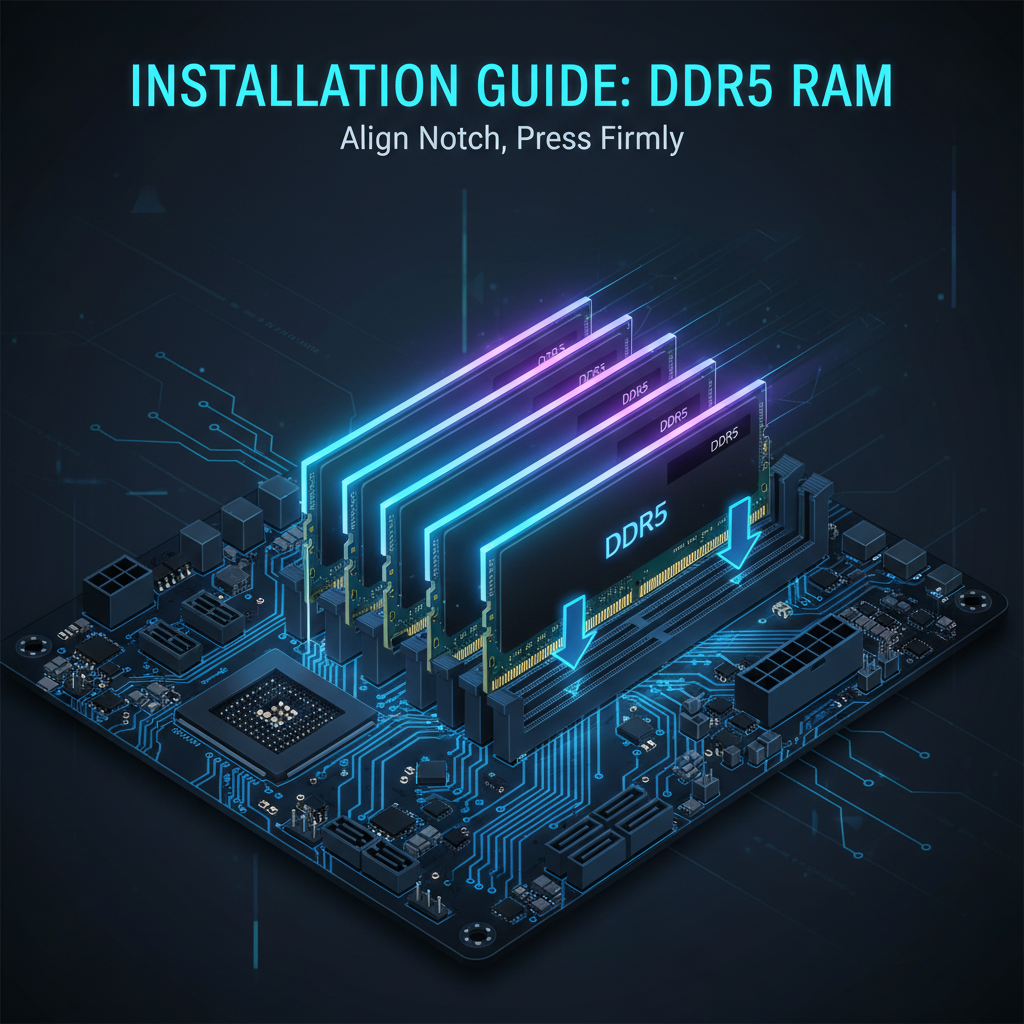
RAM & Memory
Where the XMP and EXPO profiles live, and what to re-enable after a BIOS update has reset the firmware to defaults.
10 min read