How This Guide Is Sourced
Everything below is based on published manufacturer documentation. We have not taken a board apart to reproduce these faults, and nothing here is a test result. Where a step is specific to one brand, it is attributed to that brand and linked to its own support page.
What the Debug LEDs Are
Most desktop motherboards sold in the last decade carry a small cluster of four labelled LEDs. They light up in turn while the board works through its power-on self test. If the board gets stuck, the light for the stage it failed at stays on. That single light is the most useful diagnostic information a dead build will give you.
Every vendor calls the feature something different:
- ASUS calls them Q-LED indicators. ASUS documents the four meanings and a step-by-step procedure for each on its Q-LED support FAQ.
- MSI calls them the EZ Debug LED. MSI's debug LED FAQ describes four LEDs covering CPU, memory, VGA and boot, with the corresponding indicator staying constantly on when the related hardware fails during startup.
- GIGABYTE calls them status LEDs. GIGABYTE's indicator light FAQ and its board manuals cover what each one means.
- ASRock uses a POST Status Checker, and adds a two-digit Dr. Debug readout on higher-end boards. ASRock publishes a Debug LED troubleshooting checklist.
Where are they? According to ASUS's documentation, the Q-LEDs are usually near the 24-pin power connector or the memory slots. On some older boards the lights sit next to the part they refer to instead -- ASUS gives the example of a Z97-era board with the VGA LED beside the PCIe slot. The same two locations cover most other brands. If you cannot find them, the board's manual has a labelled layout diagram.
The four labels mean the same thing across brands. These are the meanings as ASUS states them:
| Indicator | What ASUS documents it as meaning |
|---|---|
| CPU indicator | No CPU, or CPU faulty |
| DRAM indicator | No memory, or memory faulty |
| VGA indicator | No graphics card, or graphics card faulty |
| BOOT indicator | No boot device (HDD/SSD), or boot device faulty |
A Lit Light Is a Stage, Not a Verdict
"Memory faulty" is the stage the board stopped at, not proof that your RAM is dead. A DRAM light most often means the board could not train the memory -- bad seating, an unsupported kit, or the wrong slots. Work through the checks before you buy replacement parts.
Check These First
Before you read anything into a specific light, rule out the five things that account for most no-POST builds. All five are free to check and take about ten minutes together.
- Both power connectors are in. The 24-pin ATX connector powers the board; the 8-pin EPS connector at the top of the board powers the CPU. A build with only the 24-pin connected will spin fans and go no further. This is the single most common miss on a first build. Some boards have two EPS connectors -- check the manual for whether the second one is required.
- The power switch is on the right header. The front panel connector block is small, unlabelled on the case side, and easy to get one pin off. Move the case's power switch lead to the PWR_SW pins shown in the manual. To take the case out of the equation, briefly bridge those two pins with a screwdriver.
- The RAM is fully clicked in. Push each module down firmly at both ends until the retention clip snaps up on its own. Memory that looks seated but is a millimetre proud is the usual cause of a DRAM light.
- The graphics card has its own power cables. Seat the card until the slot latch clicks, then connect every PCIe power connector the card asks for. Do not daisy-chain one cable into two connectors on a card that wants two separate feeds.
- No stray standoff is shorting the board. A brass standoff screwed into a hole with no matching mounting point on your board will short the underside. Count the standoffs against the board's mounting holes. See our case compatibility guide for standoff placement and front panel headers.
Test Outside the Case
If you are still stuck after the five checks, build the minimum system on the motherboard box: board, CPU, cooler, one stick of RAM, graphics card, PSU. No case, no extra drives, no fans beyond the cooler. If that posts, the fault is something in the case -- almost always a standoff or a front panel lead.
CPU LED Stays Lit
The board never got a working processor to respond. According to ASUS's documentation, the CPU indicator staying on after power up means no CPU or a faulty CPU. ASUS gives this order:
- Reinstall the CPU.
- Check the socket pins and the CPU for dirt, and clean them if you find any.
- Look for broken pins. If any are damaged, try another CPU.
- If the first three steps change nothing, replace the CPU.
Two things worth adding before you go anywhere near step four. First, where the pins live depends on the socket. On LGA sockets -- Intel's LGA 1700 and LGA 1851, and AMD's AM5 -- the pins are in the socket, and a bent one shows up under a phone torch and magnification. On AMD's AM4, the pins are on the underside of the processor instead. Either way, look before you re-seat.
Second, a board older than the processor in it may need a BIOS update before it will start with that chip. Check the board's CPU support list on the vendor's site: if your CPU needs a newer BIOS than the board shipped with, the fix is a BIOS flash, not a new processor. Many boards have a USB BIOS flashback button that works with no CPU installed.
Also re-check the 8-pin EPS connector here. A board with no CPU power behaves much like a board with no CPU.
DRAM LED Stays Lit
The board found the CPU but could not bring the memory up. According to ASUS's documentation the DRAM indicator means no memory or faulty memory, and ASUS gives this sequence:
- Confirm the memory is fully installed, and reinstall it if not.
- Check the memory pins and the slots for dirt, and clean them if necessary.
- Replace the memory with a kit from the board's memory QVL.
- Follow the suggested memory configurations in the user manual.
- If you have more than one module, test with one at a time.
- If none of that works, change the memory.
- If the problem persists, reinstall or replace the CPU.
Step four is the one people skip. On a four-slot board, two modules almost never go in the first two slots -- they usually go in slots two and four counting away from the CPU. Populating the wrong pair can leave you with a DRAM light on perfectly good memory. Our RAM and memory guide covers slot layout, dual-channel population and what a QVL actually is.
Step seven is not a typo. The memory controller lives on the processor, so a memory fault and a CPU fault can present identically.
On AM5, a Long First Boot With the DRAM Light On Is Usually Normal
AMD's AM5 platform runs a memory training pass to find working signal timings. ASUS's ROG community documents this on 600- and 800-series boards as a pause showing Q-CODE 15, or the yellow DRAM Q-LED on boards without a code display. It describes this as expected on a first boot or after a CMOS clear, notes it can run for five minutes or more, and warns that restarting mid-way makes the board start the process over.
The related point is that enabling EXPO can make this happen on every boot rather than once. XDA reported in January 2026 that with EXPO on, the motherboard performs memory training at every boot, and that turning on Memory Context Restore in the BIOS roughly halved the author's boot time. Before you conclude the RAM is dead, leave the machine alone for ten minutes and see whether it gets there.
VGA LED Stays Lit
Memory came up, but the board could not initialise a display adapter. According to ASUS's documentation the VGA indicator means no graphics card or a faulty graphics card, and the procedure splits by where your display output comes from:
- Using the processor's integrated graphics: reinstall the CPU.
- Using an add-in card: reinstall the card, check the PCIe contacts for dirt and clean them, or try another graphics card.
Three additions that cost nothing to check. Put the card in the top PCIe x16 slot -- on most boards that is the only slot wired to the CPU at full width, and some lower slots will not initialise a card at POST at all. Our PCIe speeds and slots guide explains which slot is which and how lanes are shared.
Next, make sure the monitor cable is plugged into the graphics card, not the motherboard's rear I/O. With a card installed, the board's video outputs are usually dead.
Finally, if you are relying on integrated graphics, confirm your processor actually has any. Several AMD and Intel desktop parts ship with no integrated GPU at all, and on those a display needs a card.
BOOT LED Stays Lit
This is the good news light: the CPU, memory and graphics all came up, and the board is only failing to hand over to an operating system. According to ASUS's documentation the BOOT indicator means no boot device, or a faulty one, and the steps are:
- Reconnect the SATA cables at both the motherboard and the drive.
- Reconnect the M.2 SSD, and check that its retaining screw is actually locked down.
- Check the M.2 gold contacts and the slot for dirt, and clean them if you find any.
- Try a different SATA cable, a different port, or a different drive.
Note that GIGABYTE documents the same light slightly differently: on its boards a lit BOOT status LED means you have not entered the operating system yet. So on a GIGABYTE board it can be lit briefly and normally during a successful startup. It is a fault only when it stays on.
Two more causes worth knowing. An M.2 slot that shares lanes with SATA ports can silently disable the ports your boot drive is plugged into -- our storage options guide covers M.2 seating and slot sharing. And a drive with no operating system on it, or one left behind after a Windows install to a different disk, produces exactly this light. Check the boot order in the BIOS before you suspect the hardware.
Nothing Lights Up at All
No LEDs, no fans, nothing. This is a power delivery problem, not a POST problem, so the debug LEDs cannot help you.
- Check the obvious supply path. Wall socket, cable, and the rocker switch on the back of the PSU, which ships in the off position.
- Check the front panel wiring again. A power switch lead on the wrong pins produces a completely dead machine. Bridge the PWR_SW pins directly to rule the case out.
- Rule the PSU in or out. Many power supplies have a self-test button. Otherwise, a known-good spare is the fastest answer.
- Look for a short. A misplaced standoff or a loose screw under the board will make the PSU shut down instantly. Building on the box isolates this.
- Accept that your board may not have these LEDs. Budget models often ship without them. If the manual's layout diagram shows none, silence here means nothing either way.
Two-Digit Q-Code Displays
Higher-end boards add a two-digit hexadecimal display next to the LEDs. It reports the stage the board is at rather than a single pass/fail, so it is more precise than the four lights -- but only if you read it against the right table.
Two things to understand before you look a code up. First, cycling through many codes during startup is normal: they are progress codes, and only the one the board stops on matters. ASRock makes this point directly about its Dr. Debug readout, and also notes that code meanings can differ between its AMD and Intel platforms, which is why it publishes a per-platform checklist rather than one list.
Second, the tables are board-specific. Your board's manual contains the code list that applies to your board, and that is the one to use. A code table copied from a different model or a different brand will send you after the wrong part.
One code worth knowing on AMD AM5: as covered in the DRAM section above, a board sitting on Q-CODE 15 for several minutes on a first boot is normally running memory training, not failing.
Beep Codes
Beep codes are the oldest form of this diagnostic, and they still work -- with two catches.
The first is that you need a speaker. Almost no board or case ships with the small piezo buzzer any more, and without one plugged into the SPKR header on the front panel block, a board that is trying to tell you something makes no sound at all. They cost very little and are worth keeping in a toolbox.
The second is that the codes are not universal. What a given pattern means depends on the BIOS vendor and on the board, and the general-purpose tables that circulate online do not agree with what individual manufacturers publish for their own hardware. We are not going to add another one.
Look the Pattern Up in Your Own Manual
Count the beeps and their lengths, then find the beep code table in your motherboard's manual or on your board's own support page. That table is written for your board's BIOS. A generic table found elsewhere is a guess.
How to Clear CMOS Safely
Clearing CMOS puts the firmware back to defaults. It is the standard fix when a board stopped posting after a BIOS change, an overclock or a memory profile, and it is worth doing before you suspect hardware.
According to ASUS's official clear CMOS FAQ, this clears the real time clock RAM in CMOS, which holds the date, time, BIOS password and BIOS setup parameters. ASUS lists three methods, and says to power the PC off and remove the power cord first in every case:
- Clear CMOS button. Rear I/O or on-board on many mid-range and high-end boards. Press and hold it for about 5 to 10 seconds.
- CLRTC pins. Short the two pins with a jumper cap or a metal object for about 5 to 10 seconds, then reconnect the power and start the PC. You should get a prompt saying the BIOS settings have been reset.
- Remove the CMOS battery. Open the case, find the coin cell holder on the board, and release the battery using the tab at the side of the holder.
Which of the three your board offers is in its manual. The same procedure applies across brands, but the button label and the pin header name vary, so use your own manual for the location.
Expect a Slow Boot Afterwards
A CMOS clear wipes your EXPO or XMP profile along with everything else, so memory has to be trained again from scratch. On AM5 in particular that first boot back can take several minutes with the DRAM light on. That is the training pass described above, not a new fault.
When It Is Genuinely Faulty
If a light is still stuck after you have swapped the part it points at for a known-good one, you have a reasonable case that something is dead. Before you start a return, gather the following -- it is what every manufacturer's support form asks for, and having it ready is the difference between a one-email RMA and three weeks of back and forth.
- The board's exact model and revision. Both are silk-screened on the board itself, usually near the memory slots or the PCIe area. Revision matters: two boards with the same name can take different BIOS files.
- The BIOS version the board is running, if you can still reach the firmware screen.
- The full parts list. Processor, memory kit including its part number, graphics card, power supply, and any drives.
- Which indicator stays lit, and for how long. "DRAM light on, still on after fifteen minutes" is a much stronger report than "won't boot".
- What you have already ruled out. List the swaps you made and what each one changed. Testing outside the case with the minimum parts is worth mentioning explicitly.
- Photographs of the socket, straight on and well lit. Support will ask for these, and taking them now saves a round trip.
- Proof of purchase. Warranty length runs from the invoice date, and some vendors run it from manufacture instead if you cannot produce one.
Check the Terms Before You Ship
Physical damage -- bent socket pins, scratched contacts, liquid -- is handled differently from a manufacturing fault, and the difference can decide whether a claim is accepted. Read the vendor's warranty and RMA terms for your region before sending anything, and photograph the board as it looks now.
Related Guides
RAM & Memory
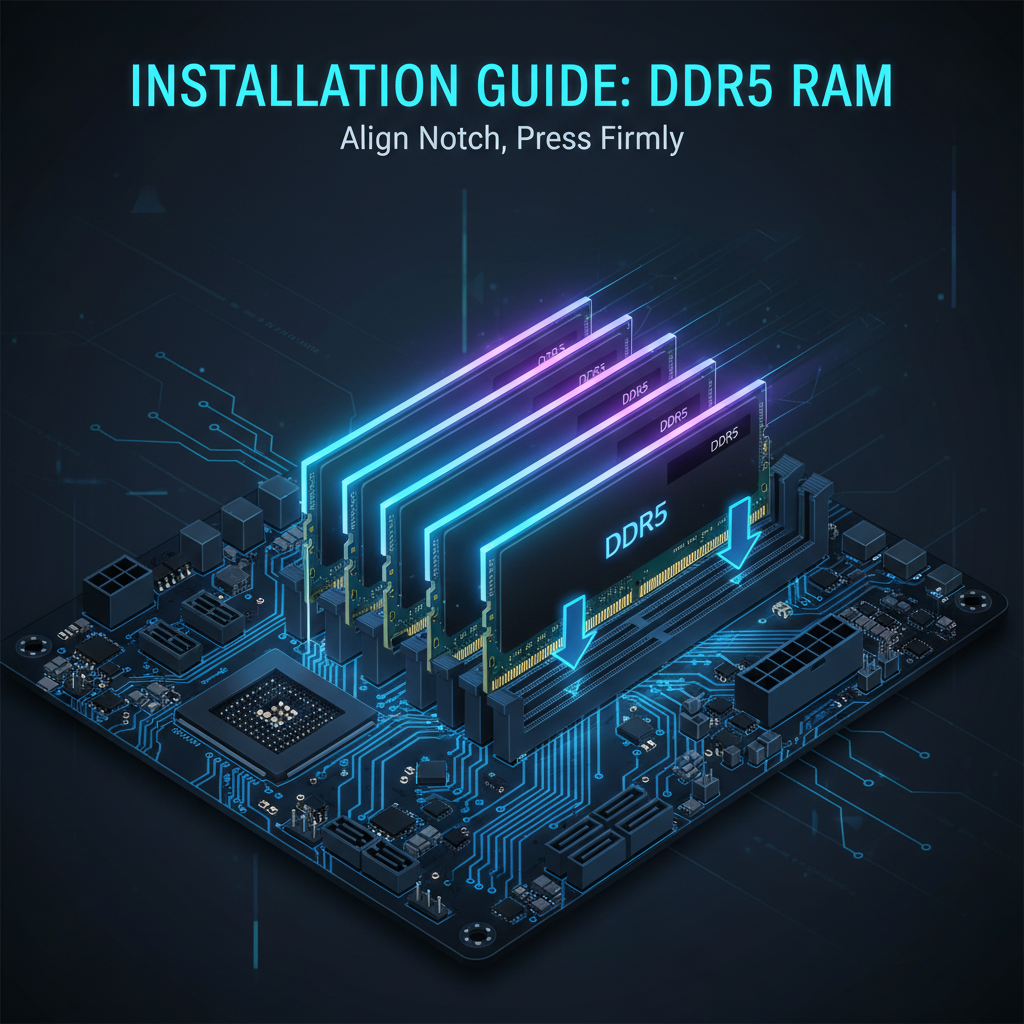
DIMM slot population order, dual-channel layout, QVL lists, and the memory profiles that cause most DRAM-light problems.
10 min read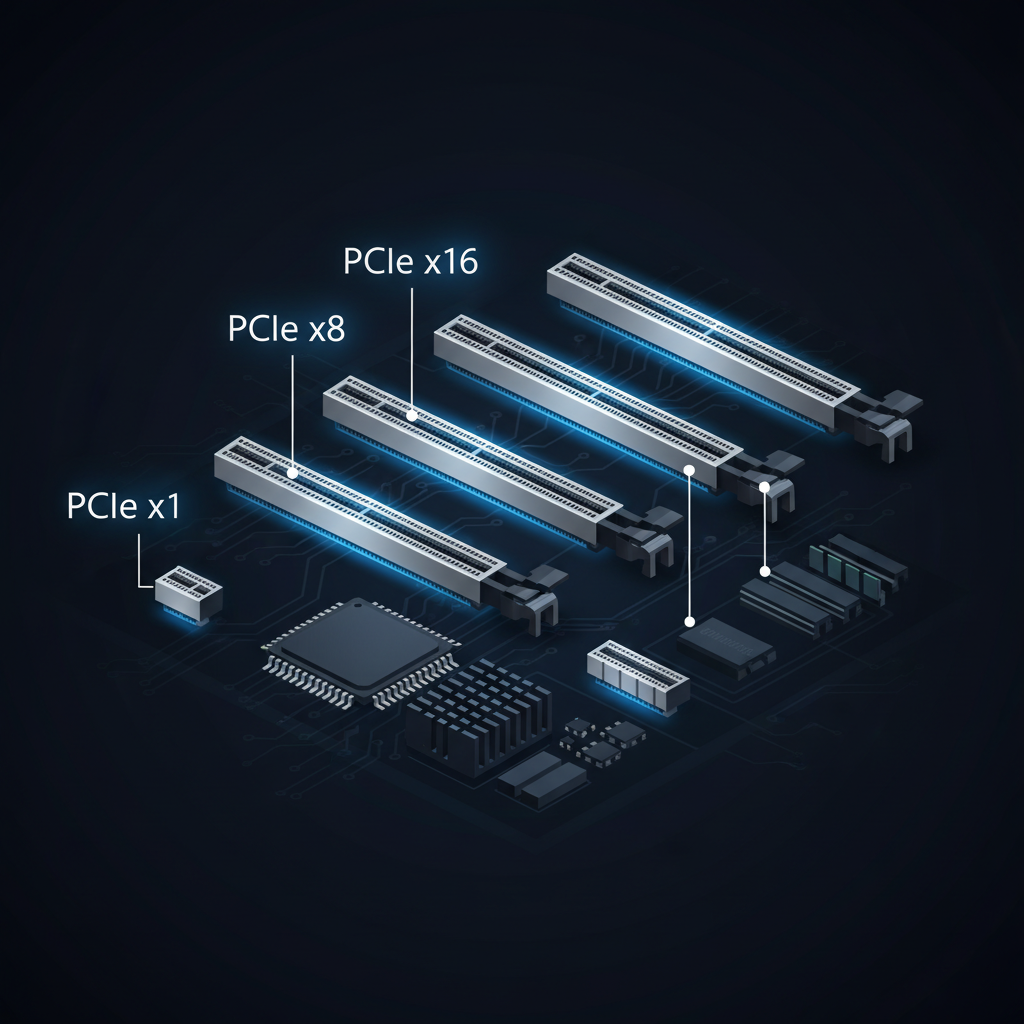
PCIe Speeds & Slots
Which x16 slot is wired to the CPU, how lanes are shared, and why a graphics card in the wrong slot may not come up.
8 min read