How This Guide Is Sourced
We have not timed a boot for this article. Every figure below belongs to somebody else's machine and is attributed to the report it came from, with the date that report was published. Treat the numbers as illustrations of the scale of the problem, not as a specification your board should match.
The Symptom: A Long Black Screen, Then It Boots Fine
You finish an AM5 build, go into the BIOS, switch on the EXPO profile so the memory runs at its rated speed, and save. From then on the machine behaves like this: you press the power button, the fans spin up, the monitor stays dark, and the DRAM light on the board stays lit. Nothing else happens for what feels like a very long time. Then the screen comes on, Windows loads, and everything works perfectly.
Almost everyone who hits this assumes the memory is failing, because a lit DRAM light is the exact same signal a board gives for a real memory problem. In most cases it is not a fault at all. It is the board doing a job it has to do before it can show you anything.
For a sense of scale: XDA reported in January 2026, testing a Ryzen 5 7600X with a 32 GB DDR5-6000 kit, that the machine took around 10 seconds to boot with EXPO off and around 53 seconds with EXPO on. A second XDA article in February 2026 described readers whose machines took 45 to 50 seconds to reach the desktop, and reported them getting there in 10 to 20 seconds after two BIOS changes. Your own numbers will differ — they depend on the board, the processor and the specific memory kit — but that is the order of magnitude people are describing.
If Your Board Never Gets There
This guide is about a board that boots slowly and then works. If yours never reaches the desktop at all, the DRAM light means something different and you want our no-POST and debug LED guide instead. That page covers what each light means and how to work through it.
What Memory Training Actually Is, and Why DDR5 Needs It
Memory training is a calibration pass the firmware runs during POST, before any operating system code executes. The memory controller writes known patterns to the modules and reads them back, repeatedly, adjusting as it goes: signal timings, reference voltages, and the alignment between the data lines and the strobe that clocks them. What it is looking for is the middle of the window in which every bit comes back correctly. Land in that middle and the system is stable. Land near the edge and you get corruption weeks later.
The result depends on the exact combination in front of it — this board, this processor, this memory kit, in these slots, at this temperature. That is why it cannot be shipped as a fixed table in the BIOS, and why swapping any one of those parts means doing it again.
DDR5 makes this harder than DDR4 did. It runs at much higher data rates, so the electrical window the controller is hunting for is narrower in absolute terms, and there is more to calibrate. That is the trade you accepted when you bought the platform: more bandwidth, more calibration. Our RAM and memory guide covers DDR5 slot population, dual-channel layout and what a QVL is, all of which affect how easy a kit is to train. For where AM5 sits relative to the other current platforms, see the CPU sockets guide.
The important thing to take from this section is that training is not an error path. It is a normal, required part of starting an AM5 machine. The only question is how often your board decides to do it.
Why It Reruns on Every Boot When EXPO Is Enabled
At the memory's default JEDEC speed, the board is running well inside its comfort zone, and startup is quick. Switch EXPO on and you are asking for a data rate above that default, with tighter timings, from a kit the board has to prove it can drive reliably. The margins are smaller, so the calibration matters more.
XDA reported in January 2026 that with EXPO enabled the motherboard performs memory training at every boot, and that this is what accounts for the difference between a fast startup and a slow one. That is the whole mechanism. It is not that EXPO makes your machine slow; it is that EXPO makes the board redo a piece of work it would otherwise skip.
Two other things reliably trigger a full training pass, whatever your EXPO setting: clearing CMOS, and updating the BIOS. Both wipe the stored configuration, so the first boot afterwards starts from nothing. A long first boot after either of those is expected. If you are about to flash firmware, our BIOS update guide is worth reading first.
Memory Context Restore: What It Changes
Memory Context Restore is a BIOS setting on AM5 boards that changes the answer to "do we train again?" from always to only when we have to. Instead of recalculating from scratch, the firmware saves the parameters that worked last time and reuses them on boots where the hardware has not changed. XDA's February 2026 article describes it as skipping the constant memory retraining that causes the long boots, by recycling previously successful memory parameters.
The effect people report is substantial. XDA reported in January 2026 that turning it on roughly halved the boot time on the Ryzen 5 7600X system described above. The February 2026 article reported readers going from 45 to 50 seconds down to 10 to 20 seconds with this setting and one other.
Where the option lives varies. Vendors put it in different places and label the surrounding menus differently, so rather than guess at a menu path for your board, look for "Memory Context Restore" in the BIOS search function if your firmware has one, or in the memory and AMD overclocking sections. Your board's manual is the authority on where it is and what it is called.
This Setting Is a Trade, Not a Free Upgrade
Reusing a saved calibration means trusting that it is still correct. XDA's January 2026 article notes that many users have complained about instability and boot problems after turning Memory Context Restore on alongside an EXPO profile, and its February 2026 article warns this can show up as random BSODs or a failure to POST. The way back is to clear CMOS, which returns the setting to its disabled default along with everything else. Read the trade-off section below before you enable it, and find your board's clear-CMOS button or jumper first.
Power Down Enable, and Why It Is Suggested Alongside
Power Down Enable is a memory power-saving setting, and it is the second of the two options the XDA articles recommend together. The two descriptions differ slightly in the detail — the January 2026 article describes it as powering down parts of the RAM when they are not in use, the February 2026 article as lowering RAM voltage while idle — so we will not state a precise mechanism here. What both agree on is the practical point.
That practical point is this: it is the setting people turn on when Memory Context Restore alone gives them trouble. XDA's January 2026 article recommends enabling Power Down Mode alongside Memory Context Restore if stability problems appear, and its February 2026 article presents the pair together as the combination that produced the improvements it describes. So the sensible order is Memory Context Restore first, and Power Down Enable second if the machine is not happy.
As a power-saving feature it is not doing anything exotic to your memory, and it is not an overclock. If you try it and nothing changes, turning it back off costs you nothing.
The Stability Trade-Off, and How to Back Out
Everything in the two sections above is a saving bought with a risk, and the risk is worth stating plainly rather than in a footnote.
The failure mode people report is not subtle. XDA's January 2026 article carries a reader account of a board that would not POST after Memory Context Restore held on to cached data that had gone bad. Its February 2026 article describes the same class of problem as random BSODs and failures to POST. A saved calibration that has quietly stopped being valid is worse than no saved calibration, because the board now boots confidently into a configuration that does not work.
So before you change either setting, do these three things:
- Find your clear-CMOS method first. Look up whether your board has a rear I/O button, a jumper header, or only the coin cell, and confirm you can reach it in the case you have built. Our no-POST guide covers the procedure and links the vendor documentation for it.
- Change one setting at a time. Enable Memory Context Restore, save, and use the machine normally for a few days before touching Power Down Enable. If you flip both at once and it becomes unstable, you have learned nothing about which one did it.
- Decide what the saving is worth to you. A desktop that is left on all day pays the training cost rarely. If that is you, the honest answer may be to leave both settings alone and accept a slow cold boot.
Backing Out
If the machine becomes unstable and you can still reach the BIOS, set Memory Context Restore back to its default and save. If it will not POST at all, clearing CMOS is the recovery path — XDA's February 2026 article gives exactly that advice, and it returns the setting to disabled. Expect the next boot after a CMOS clear to be a slow one, because you have just deleted every stored calibration and your EXPO profile along with it.
How to Tell Training Apart From a Real Fault
The single most useful test is free and takes one reboot: turn EXPO off and set the memory back to its default speed. If the machine then boots quickly and runs without complaint, your board, processor and memory are all working. What you have is a training and profile question, which is what the rest of this page is about. If it is still broken at default speed, EXPO is not your problem and you should work through the no-POST and debug LED guide instead.
Beyond that, the pattern usually tells you which you are looking at:
| Looks like training | Looks like a genuine fault |
|---|---|
| It gets there eventually, every time | It never reaches the desktop, however long you wait |
| Started right after enabling EXPO, clearing CMOS or flashing the BIOS | Started on its own, or after physically changing parts |
| The DRAM light goes out and the system posts | The DRAM light stays on through repeated attempts |
| Booting at default memory speed is quick and stable | It fails at default memory speed too |
Do Not Reset It Part-Way Through
The most common way people turn a slow boot into a real problem is hitting the reset button because they assume it has hung. Cut the pass short and you never find out whether it would have finished, so you learn nothing and start the wait over. Give it well past the longest figure on this page — XDA reported around 53 seconds in January 2026, and readers describing 45 to 50 seconds in February 2026 — before you conclude anything. A first boot, or the first boot after a CMOS clear, is a full pass from scratch and can run considerably longer than that; our no-POST guide covers how long to give it.
This affects every AM5 board, budget to flagship — it is a platform behaviour, not a defect in any particular model. You will find the same note in our reviews of boards like the MSI MAG B650 Tomahawk WiFi and the ASUS ROG Strix B650E-E Gaming WiFi.
Boards With a POST Code Display
Mid-range and high-end boards often add a two-digit hexadecimal readout next to the debug LEDs. It reports which stage of startup the board is at, so it is more informative than a single lit light — but only if you read it against the right table.
Two things to know before you look a code up. First, cycling rapidly through many codes during startup is normal. They are progress codes, and the only one that means anything is the code the board stops on. Second, the tables are specific to the board and the platform. Your board's own manual carries the list that applies to it, and a table copied from a different model or a different brand will point you at the wrong part.
If your board pauses on one code for a long time during a boot that eventually succeeds, that is consistent with the training pass this page describes rather than with a failure. Our no-POST and debug LED guide covers code displays and the vendor-documented meaning of a stuck code in more depth.
What Does Not Fix It
These are the things people try first, and none of them shortens a training pass. Knowing that saves you an evening and, in a couple of cases, some money.
- Reseating the RAM. Worth doing once if you have never checked it, because badly seated memory causes real DRAM-light faults. But memory that is seated correctly does not train faster for being taken out and put back. If anything you have added a boot, because the board may now redo the calibration it had stored.
- Raising voltages. Pushing memory or SoC voltage above what the profile asks for does not speed up calibration — the controller is searching for a working window, not waiting on power. What it does do is add heat and reduce the margin you were trying to protect. Leave the profile's values alone.
- Buying a faster kit. A higher-rated kit gives the controller a harder problem, not an easier one. Swapping kits to fix a slow boot is the one item on this list with a price attached, and it is the least likely to work.
- Reinstalling Windows, or changing Fast Startup. Training happens during POST, before any operating system code runs. Nothing you configure inside Windows can affect it. If your slow phase is a black screen with the DRAM light on, the OS has not been reached yet.
- Clearing CMOS. This is the fix for a bad configuration, and it is the recovery path described above — but as a cure for slow boots it does the opposite. It deletes every stored calibration, so the next boot is a full pass from scratch.
The one thing on the general list of remedies that genuinely can help is a BIOS update, because vendors do revise memory training routines between releases. That is a real possibility rather than a promise, and it is worth checking your board's release notes before you assume it applies to you. Our BIOS update guide covers doing it safely.
Related Guides
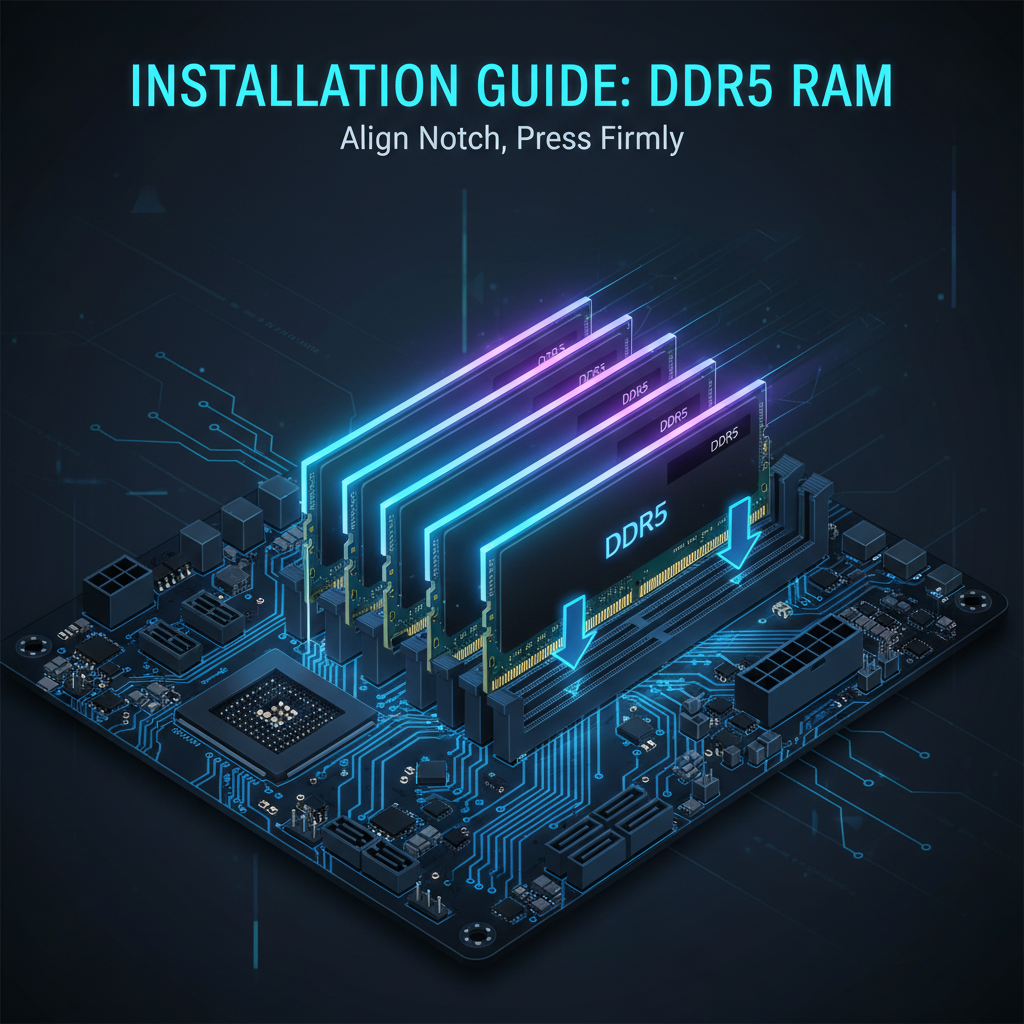
RAM & Memory
DDR5 slot population, dual-channel layout, QVL lists, and how EXPO and XMP profiles actually work.
10 min read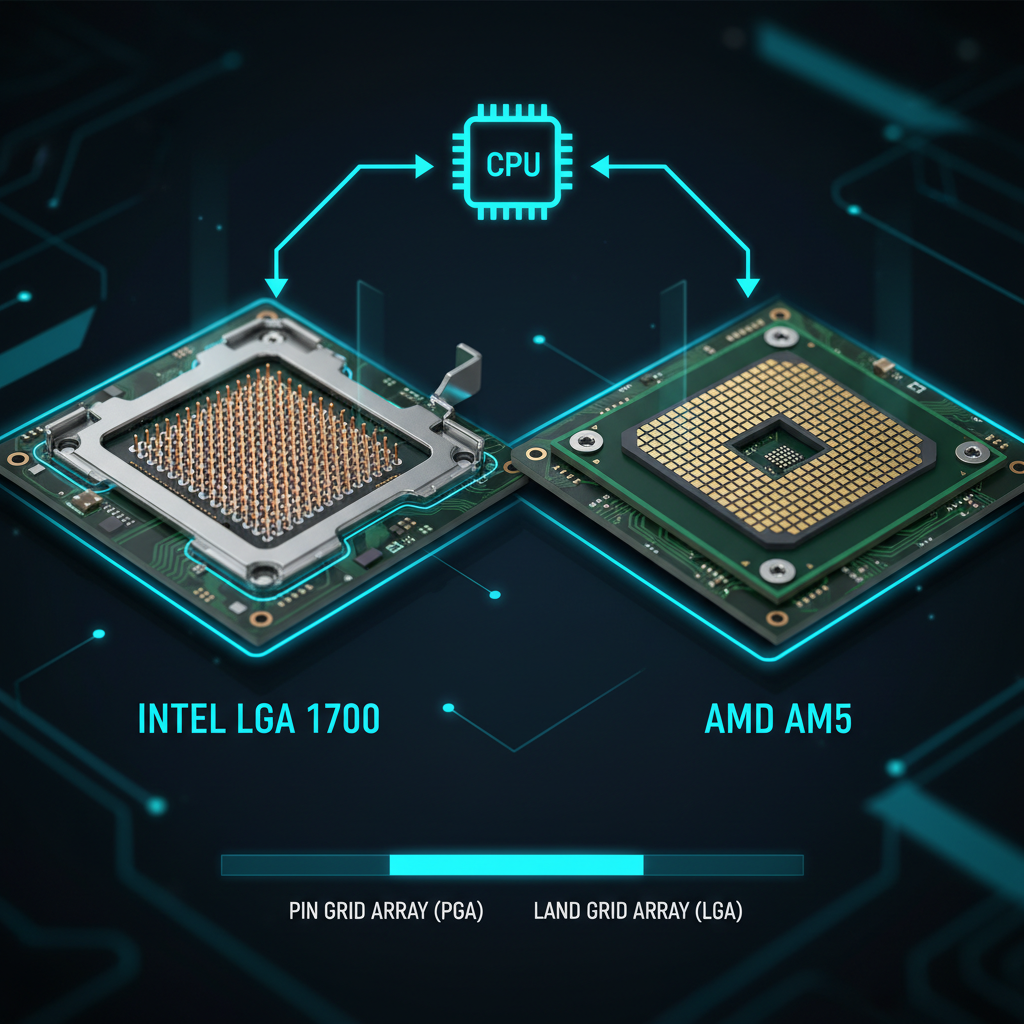
CPU Sockets Explained
Where AM5 sits against AM4 and Intel's current sockets, and what each platform commits you to.
7 min readSources
- XDA Developers, 25 January 2026 — This AM5 BIOS change halves your boot time
- XDA Developers, 16 February 2026 — These two motherboard settings could halve your AMD PC's boot time
For the POST codes and debug-LED meanings on your own board, your board's manual is the authority. We do not reproduce a code table here because the tables differ between vendors and between models.