How This Guide Is Sourced
We have not run these steps on a bench for this article. Every BIOS menu path below is quoted from the vendor's own support page and linked in the sentence that carries it. Where a vendor's documentation was not readable to us, we name the setting you are looking for and stop there rather than print a menu path we cannot stand behind. Your board's manual is always the authority on its own menus.
What TPM 2.0 and Secure Boot Actually Are
These are two different things that get switched on in the same afternoon, which is why they are usually discussed as one.
A TPM is a small security processor. It generates and stores keys in a place the operating system cannot read out, and it keeps measurements of what the machine loaded at startup. Windows leans on it for BitLocker's automatic unlock and for Windows Hello. Version 2.0 is the current specification.
Secure Boot is a firmware policy. With it enabled, your board only hands control to a bootloader signed by a key it already trusts. That is what stops something from quietly inserting itself underneath Windows.
Microsoft's Windows 11 requirements page lists both in its minimum hardware requirements: "System firmware: UEFI, Secure Boot capable" and "TPM: Trusted Platform Module (TPM) version 2.0". That page carried a documentation date of 14 July 2026 when we checked it for this article, and it still lists TPM 2.0. You will see claims in forum threads that the TPM requirement has been dropped. Microsoft's own requirements page does not say that, so do not plan an install around it.
Note the exact wording on firmware: the requirement is Secure Boot capable, not Secure Boot enabled. For a Windows 11 install, capability is the bar. Anti-cheat is stricter, and wants it actually turned on.
On the anti-cheat side, ASUS puts the reason plainly in its support article on game launch errors (last updated 15 October 2025): "Many modern anti-cheat drivers verify the integrity of your boot chain and security processor before games will launch." If the chain does not check out, the game refuses to start rather than explaining itself.
The useful thing to know before you start: on any recent board, both features are already in the hardware. Nothing needs buying. They are configuration, not parts — see our CPU sockets guide for which platform you are on.
Check What You Already Have
Do this before you touch the BIOS. Three checks, all from inside Windows, all read-only.
- TPM status. Press Windows+R, run
tpm.msc. If a TPM is on and working, the console reports it as ready for use and shows a specification version. You want 2.0. - Secure Boot and boot mode. Windows+R, run
msinfo32. Read two rows in System Summary: BIOS Mode and Secure Boot State. BIOS Mode must say UEFI. If it says Legacy, read the MBR section below before changing anything. - Partition style. Windows+R, run
diskmgmt.msc, right-click your system disk, choose Properties, then the Volumes tab, and read Partition style. Microsoft's MBR2GPT documentation gives a one-line alternative in PowerShell:Get-Disk | ft -Auto, which prints a Partition Style column.
ASUS documents another route to the same TPM figure in its support article: Settings, then Privacy & security, Windows Security, Device security, Security processor details, where the specification version is listed.
Read This Before You Change Any Setting
The order matters more than any individual setting. ASUS states it directly: "If your disk is MBR or your firmware is in Legacy/CSM mode, do not switch to UEFI or enable Secure Boot until you convert the disk to GPT." Flip the firmware to UEFI while the disk is still MBR and the machine stops finding its own Windows install. If your three checks came back UEFI and GPT, you can skip straight to the enable steps. If either came back Legacy or MBR, go to the conversion section first.
Firmware TPM vs a Discrete Module
When people discover they need TPM 2.0, the first thing many do is search for a TPM header module. You almost certainly do not need to buy one.
Modern processors carry a firmware TPM: a TPM 2.0 implementation running inside the processor and platform firmware rather than on a separate chip. AMD calls it fTPM. Intel calls it PTT, short for Platform Trust Technology. It satisfies the Windows 11 TPM 2.0 requirement, and it is already sitting on your board — typically switched off from the factory, which is the entire reason this page exists.
A discrete module plugs into a header on the board and does the same job in dedicated silicon. It is a niche purchase, and not an interchangeable one: a module has to match the header on the specific board it is going into, so it is bought against a model number rather than off a shelf. If your BIOS offers a choice between firmware TPM and discrete TPM, and there is no module physically installed, firmware TPM is the answer.
Save Your BitLocker Recovery Key First
Changing the TPM state or enabling Secure Boot alters the platform configuration BitLocker measures, and Windows can respond by demanding your 48-digit recovery key at the next boot. If this machine has BitLocker turned on — and it may have been enabled automatically — sign in at your Microsoft account's recovery key page or export the key to a file on another device before you go any further. The same warning applies to flashing firmware, which our BIOS update guide covers.
Enabling Firmware TPM: AMD Boards (fTPM)
On AMD, the setting you are hunting for is called fTPM, and enabling it means selecting Firmware TPM rather than a discrete device.
ASUS documents the path on its AMD boards as Advanced Mode › Advanced › AMD fTPM configuration › Firmware TPM switch, set to "Enable Firmware TPM", in its Secure Boot and fTPM support article. You reach Advanced Mode by pressing Del as the machine starts.
Other vendors use their own menu trees and their own labels for the same feature. The words to look for are "fTPM", "AMD CPU fTPM", "Firmware TPM" or, on boards that do not name the vendor at all, "Security Device Support". If your BIOS has a search function, search for TPM; otherwise the setting usually lives near the other security or advanced CPU options. We do not reproduce menu paths we could not confirm at the vendor's own source, so for any board that is not an ASUS one, check the manual that came with it.
Once the setting is changed, save and exit — F10 on most boards — and let the machine restart before you check anything.
Enabling Firmware TPM: Intel Boards (PTT)
The Intel equivalent is PTT, Platform Trust Technology. It is the same idea as fTPM: a TPM 2.0 implementation in firmware, no module required.
We could not read a current vendor support page for the Intel menu path while writing this, so there is no path printed here. Inventing one would be worse than useless. What you are looking for is a setting named "PTT", "Intel Platform Trust Technology", "Intel PTT" or "Security Device Support", and on many boards it sits alongside the firmware and security options rather than under a TPM heading of its own. Use your BIOS search function if it has one, and treat your board manual as the authority.
One thing worth knowing when you find it: where the BIOS offers a choice of TPM device, the two options are typically a firmware TPM and a discrete one. Choose the firmware option unless you have actually installed a module.
Enabling Secure Boot, and Why CSM Has to Go Off First
Secure Boot only exists in the UEFI boot path. CSM — the Compatibility Support Module, sometimes labelled Legacy or Legacy Boot — is the layer that lets a board boot the old BIOS way, and while it is doing that there is no signature checking to enable. So CSM goes off, and the machine boots in UEFI mode, and only then does Secure Boot mean anything.
That is also why the partition style matters. A Windows install on an MBR disk boots through the legacy path. Turn CSM off underneath it and it will not start.
ASUS documents its own path as Advanced Mode › Boot › Secure Boot, selecting "Windows UEFI mode" under OS Type and "Standard" under Secure Boot Mode, in the support article linked throughout this page. On other brands the menu differs; the setting is normally in the Boot or Security section, and CSM has its own entry nearby.
If the option is greyed out, that is usually the firmware telling you something else is in the way — commonly CSM still enabled, or Secure Boot keys not installed, for which boards offer a "Restore Factory Keys" or equivalent action.
If It Will Not Boot Afterwards
Nothing here is one-way. Go back into the BIOS, put Secure Boot back to disabled and CSM back to how it was, and you are where you started. The one change on this page that genuinely cannot be reversed is the MBR-to-GPT conversion below, which is why it has its own warning.
If Your Windows Install Is Still MBR: Converting to GPT
If msinfo32 said Legacy, or Disk Management said Master Boot Record, you have an install that predates all of this. Windows ships a tool for converting it in place. Our storage guide covers what MBR and GPT are and why the boot drive is the one that cares.
Microsoft's MBR2GPT documentation describes the tool as converting "a disk from the Master Boot Record (MBR) to the GUID Partition Table (GPT) partition style without modifying or deleting data on the disk". It lives in the Windows\System32 directory.
This One Is Not Reversible
The tool prints its own warning before it starts: "If conversion is successful the disk can only be booted in GPT mode. These changes cannot be undone!" Everything else on this page is a setting you can put back. This is not. Have a current backup of anything you care about before you run it — this guide assumes you do — and if the machine is a work machine, ask whoever owns it first.
Microsoft also documents that a BitLocker-encrypted disk can only be converted with protection suspended, and that resuming BitLocker afterwards means the existing protectors have to be deleted and recreated.
Before it changes anything, the tool checks the disk against a list of conditions from Microsoft's documentation, including: the disk is currently using MBR; there are at most three primary partitions; one partition is marked active and is the system partition; there are no extended or logical partitions; there is enough unpartitioned space at each end of the disk for the GPT structures; and the boot configuration store on the system partition has a default OS entry. If any check fails, it stops and reports an error instead of converting.
So run the check on its own first, from an elevated command prompt:
mbr2gpt /validate /disk:0
By default the tool only runs from the Windows Preinstallation Environment. Microsoft documents the /allowFullOS option, which overrides that block and lets it run inside Windows; ASUS's support article uses exactly that form. Note Microsoft's caveat that when you convert from the full OS, the existing system partition is in use and cannot be reused, so a new EFI system partition is created by shrinking the Windows partition.
If validation passes, and only then, convert:
mbr2gpt /convert /disk:0
The last line the tool prints is the step people miss: "Before the new system can boot properly you need to switch the firmware to boot to UEFI mode!" The disk is now GPT and the firmware is still set to boot the legacy way. Go into the BIOS, turn CSM off so the machine boots in UEFI mode, and let Windows start once and settle before you enable Secure Boot on top.
After You Enable It: What to Verify, and What Breaks
Back in Windows, confirm the machine agrees with you rather than assuming:
tpm.mscshould now report a TPM that is ready for use, with specification version 2.0.msinfo32should show Secure Boot State: On and BIOS Mode: UEFI.
Secure Boot State reading "Unsupported" rather than "Off" usually means the machine is still booting through the legacy path, not that the board lacks the feature.
Three things change once these are on, and it is better to know beforehand:
- BitLocker may demand its recovery key. The measurements it relies on have changed. This is the reason for the warning further up: have the key before you need it, not after.
- Dual-boot setups can stop booting. Secure Boot only runs signed bootloaders. Mainstream Linux distributions ship a signed shim and are fine; a custom or older one may not be, and the fix is either a distribution that supports Secure Boot or leaving Secure Boot off.
- Old expansion cards can go quiet. Hardware whose option ROM predates UEFI relies on the compatibility layer you have just switched off. That is rare on anything recent, and worth remembering if a display or a storage controller disappears.
If the goal was a Windows 11 upgrade, re-run the PC Health Check app afterwards — it re-reads the state rather than caching its earlier verdict.
Firmware TPM on AMD and Intel: The Caveat Worth Knowing First
A firmware TPM is firmware. That has one consequence people find surprising: when a flaw is found in it, the fix arrives as a motherboard BIOS update from your board vendor. Windows Update will not deliver it, and neither will a driver package.
That is not hypothetical. Two vulnerabilities in the Trusted Computing Group's TPM 2.0 reference code were published on 11 August 2026: CVE-2026-6726, which the NVD entry describes as an information leakage issue allowing "a local attacker with elevated privileges to obtain a credential from a TPM-aware CA for a falsified TPM key", and CVE-2026-6727, a timing side-channel in RSA OAEP decryption reachable by "a privileged local attacker with access to the TPM command interface". Both require local privileged access, so neither is something a web page can do to you.
The flawed code is the specification's own, not one vendor's, and that is the part worth reading twice: CERT/CC's note VU#431093, published on 11 August 2026 and updated the following day, lists both AMD and Intel as affected by both CVEs. On AMD the firmware TPM is fTPM; on Intel it is PTT. So this is not somebody else's problem depending on which brand you bought — it applies to whichever of the two settings above you are about to switch on.
Intel has an advisory of its own for each: INTEL-SA-01372 for CVE-2026-6726, and INTEL-SA-01371 for CVE-2026-6727. Neither of those pages returned anything to us, so we have not read either one and we do not summarise what they say; the pairing above is the one Dell's DSA-2026-212 publishes, listing each Intel advisory number against its CVE while shipping BIOS updates for its own machines. heise reported the same two advisory numbers on 12 August 2026.
ASUS's support article documents the same pattern for older AM4 boards, where an fTPM that anti-cheat rejects as out of date is resolved by updating the board's BIOS rather than anything in Windows.
So the practical advice, whether you are about to turn fTPM on or PTT on, is the same: check your board's support page for a BIOS newer than the one you are running, and look for a TPM, fTPM or PTT security fix in its release notes. Coverage varies by board and by vendor, and we have not verified which specific boards have a fixed BIOS on either platform, so treat your own board's release notes as the answer. And save your BitLocker recovery key before flashing — our BIOS update guide covers the safe order, including boards that can flash with no processor installed.
Advisory details in this section last checked 22 August 2026.
Related Guides
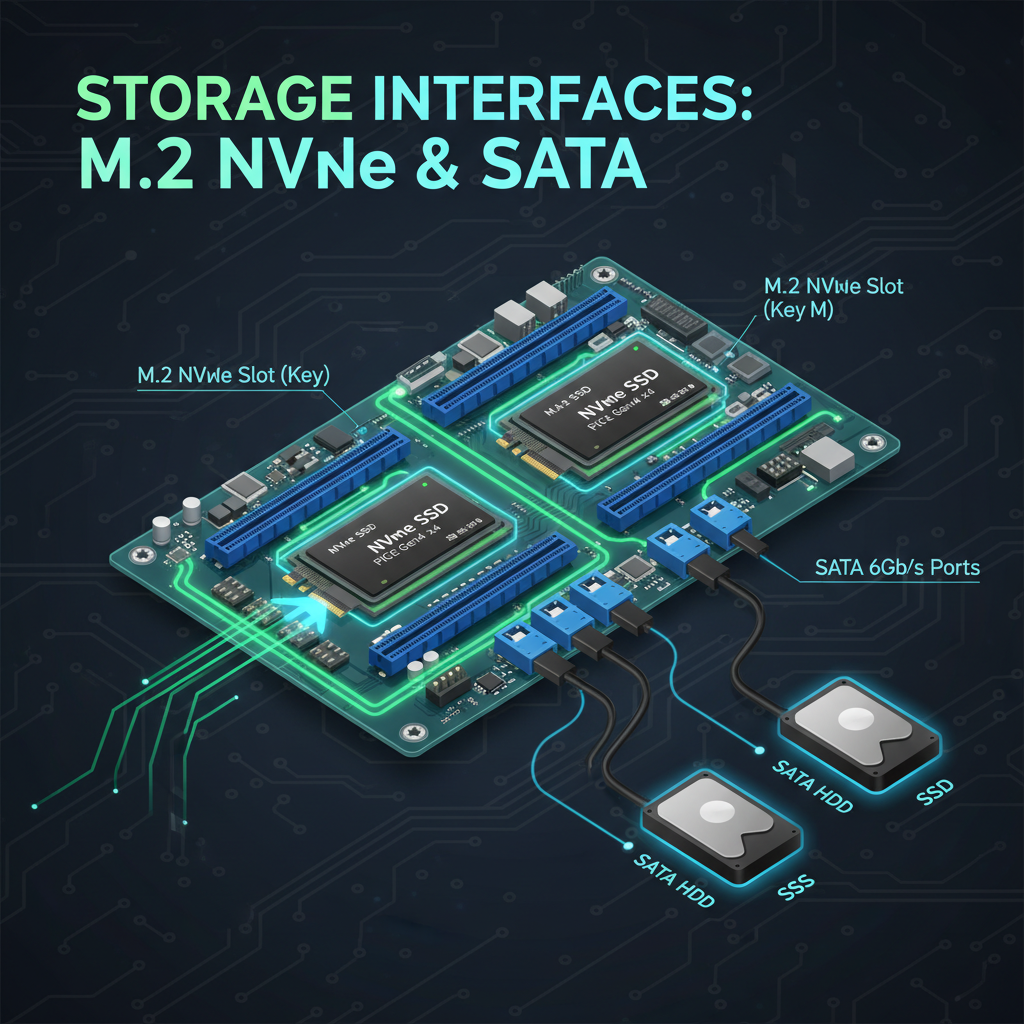
Storage & M.2
MBR against GPT, how the boot drive is laid out, and what shares bandwidth with what.
9 min read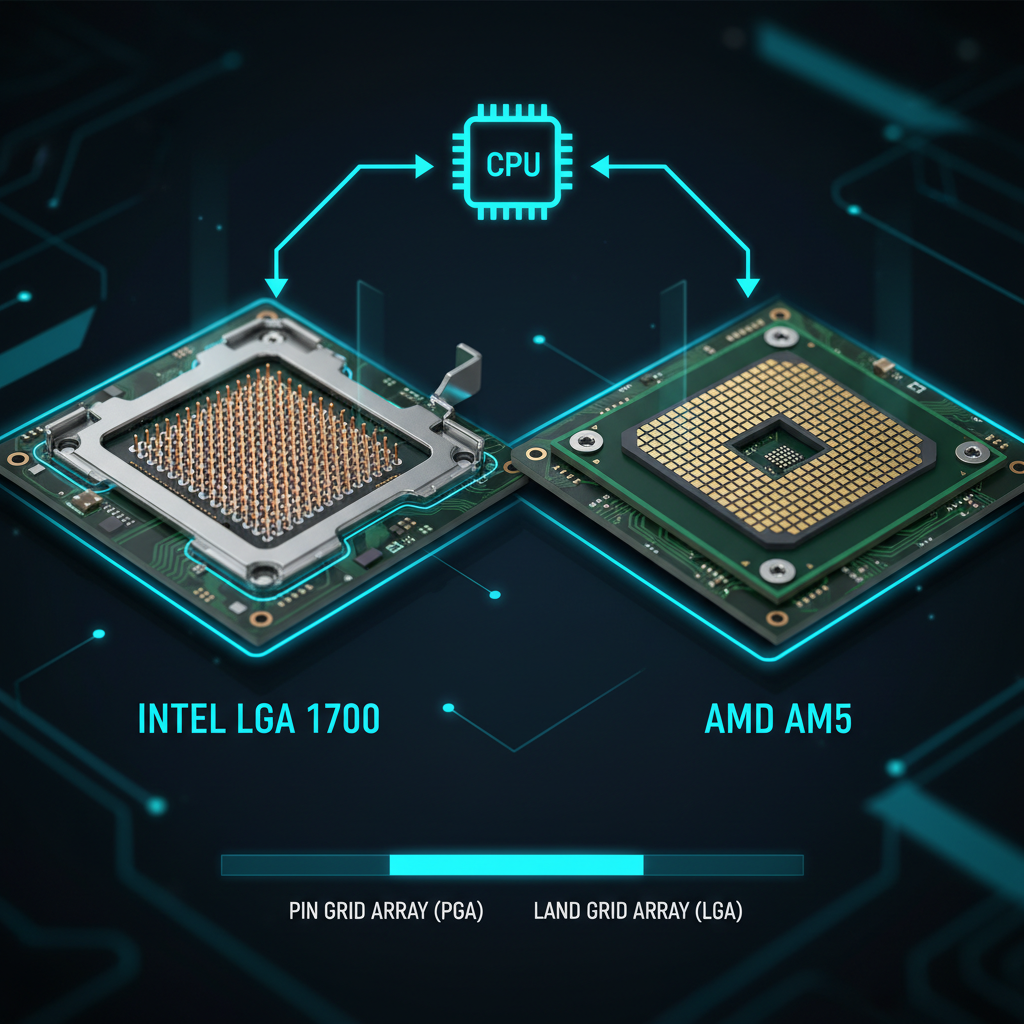
CPU Sockets Explained
Which platform you are on, and which generations carry a firmware TPM at all.
7 min readSources
- Microsoft Learn, documentation date 14 July 2026 — Windows 11 requirements
- Microsoft Learn, documentation date 14 July 2026 — MBR2GPT
- ASUS, last updated 15 October 2025 — Fix FPS game launch errors: enable Secure Boot and update TPM 2.0 (fTPM)
- NIST National Vulnerability Database — CVE-2026-6726 and CVE-2026-6727, both published 11 August 2026
- CERT/CC, published 11 August 2026 and updated 12 August 2026 — VU#431093, which records AMD and Intel as affected by both CVEs
- Intel, dates not readable to us — INTEL-SA-01371 and INTEL-SA-01372, linked because they are Intel's own advisories for this disclosure; neither page returned content to us
- Dell — DSA-2026-212, the client BIOS advisory that lists INTEL-SA-01371 against CVE-2026-6727 and INTEL-SA-01372 against CVE-2026-6726
- heise online, 12 August 2026 — The security co-processor in many CPUs is insecure, which reports the same two Intel advisory numbers
Menu paths appear on this page only where the vendor's own support page was readable to us at the time of writing. For every other brand we name the setting and send you to your board's manual, which is the only document guaranteed to match the firmware you are actually running.